I recently attempted my first ever red velvet cake that was, much to my concern, for an order! I decided to try a few recipes to figure out the best. They were up to their ears in red velvet and cream cheese frosting at home - I doubt they ever want me to bake another again! I used a brilliant recipe which I found in a gorgeous cookbook given to me by my mam at Christmas time. It was extremely easy to follow and the results were perfect.

Red velvet is an interesting cake to bake. The deep reddish brown colour is a result of a chemical reaction between baking soda, buttermilk and cocoa powder. Many add more red food colouring for a much brighter shade of red that serves as a brilliant contrast colour to the white cream cheese frosting.

Ingredients
FOR THE RED VELVET SPONGE
280g Plain Flour (sieved)
55g Cornflour
1.5 tsp Baking Powder (sieved)
280g Caster Sugar
225g Butter (softened)
4 tbsp water
55g Cocoa Powder
3 Eggs (lightly beaten)
250ml Buttermilk
2 tsp Vanilla Extract
3-4 tbsp Red Food Colouring
FOR THE CREAM CHEESE FROSTING
50g Cream Chesse
50g Butter (softened)
200g Icing Sugar
1tsp Vanilla Extract
1-2 tbsp Boiling Water
-------------------------------------
Method
FOR THE RED VELVET SPONGE
1) Preheat the oven to 190C / 400F / Gas Mark 5, grease 2x 6 inch round cake tins with melted butter and line with grease proof paper.
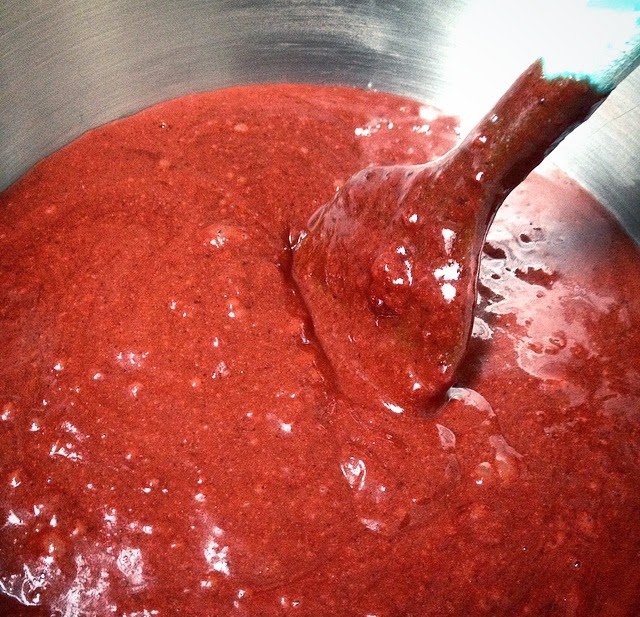
2) In a small pot, melt the butter and cocoa powder. When combined, take off the heat and leave to sit and cool slightly.
3) In a separate bowl, whisk the eggs, vanilla extract, buttermilk and red food colouring until the mixture forms bubble or a froth.

4) In another separate bowl, add the sieved flour and baking powder followed by the sugar. Mix and leave to one side.
5) Add the butter mixture to the whisked mixture and stir. Once combined, fold in the dry ingredients using a metal spoon. Only add 3-4 spoonfuls at a time.
6) Once combined, divide the mix between the two tins and bake for approx. 35 minutes. The cakes should e firm to touch. Once baked, leave the cakes to cool in their tins for 3-4 minutes. Then remove them from the tins and leave to cool fully on a wire wrack.
----------------------------------
FOR THE CREAM CHEESE FROSTING
1) Using your electric mixer, combine the cream cheese and the softened butter. Once combined, add the icing sugar and beat.
2) When the mixture has reached a paste like consistency, add the vanilla extract followed by the boiling water and beat continuously for 5-6 minutes. If the frosting is still quite heavy and thick add another tsp of boiling water.
---------------------------------
For a sandwich style red velvet cake, simply place one cool sponge on your plate or cake board, spread a layer of your cream cheese frosting, place the other sponge on top and completely cover the cake in the remaining frosting using your pallet knife, I piped the icing for effect but either will work well. I also used a red velvet ribbon to decorate.

If you'd rather make red velvet cupcakes simply follow the same recipe but, instead of using the two cake tins, use a muffin tray lined with bun cases. Bake the cupcakes for 15- 20 minutes until firm to touch and leave to cool on a wore wrack before icing. For something a little different, I say one bun on top of the other to form a sandwich.


